Stumpy
Paddler
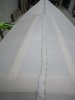
You certainly sew straighter than I do, unless I'm sewing 12 oz, which usually goes pretty well. In 8 oz, I tend to wander all over the deck. :roll:
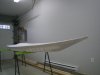
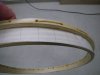
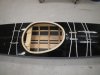
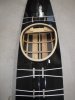
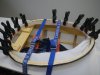
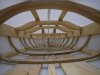
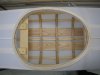
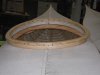
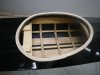
Thanks so much Jill.Jill said:Wow, the frame is so beautiful. All that work and hours..... looks so fine !
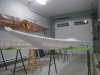
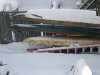
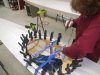
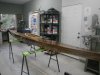
Thanks Roy. The other build is Doug's. We started them together with the idea that I would watch each step as he did his and then I could do mine. It has really been helpful. Many times I have gone over to his kayak and run my fingers along parts of it to get the "feel" for a certain angle or to see how much he sanded his, etc. It was very helpful on days when he wasn't out in the shop with me and I could just have a look at his kayak and see how it should be done. There aren't a lot of pictures of it as it mostly mirrors my own.Roy222 said:Lila,
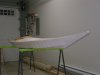
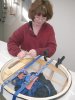
Do I see another new build in the background?
Any photos of that build?
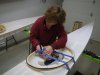
I have really enjoyed watching you craftsmanship in action.
Roy
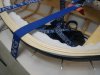


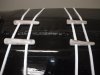
Stumpy, I'm not waiting for spring!! But I will wait for the deck rigging. I think / hope that it will be on by the end of this week.Stumpy said:Come on, spring!!
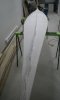
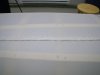
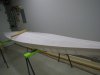
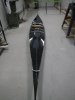
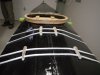
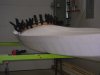
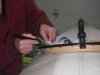
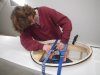
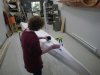
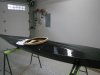
No, I just used the scraper that comes with the poly and it only looks perfect in the picture! :lol: Looking at it up close you can clearly see how it is not perfect, but I have a feeling that they are supposed to be "not perfect". I did use a small art paintbrush to apply the poly to the skin on the inside of the cockpit and to touch up some spots under the cockpit ring where I couldn't get enough of the poly to ensure good waterproofing coverage. I was quite pleased to hear that you shared my build with your daughter. Thank you so much.BigandSmall said:did you tip off with a brush?
+1 ! What a lovely boat! Get it wet!Stumpy said::clap: :big_thumb :clap: