BigandSmall
Paddler
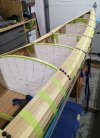
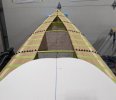
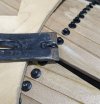
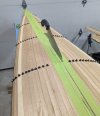
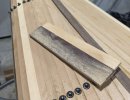
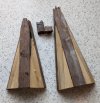
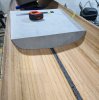
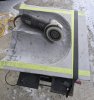
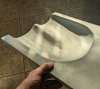
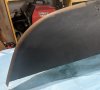
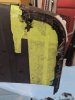
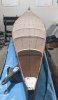
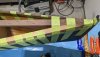
I squared up the seat foam and shaped it to the hull. I trimmed it with a saw after tracing form 7 on both ends and sanded it to fit with 60 grit. That dust collector was great again. Today I flipped the hull over and epoxied the stems on. My plan to just use a little electrical tape to wrap them on didn't go so well but I'll share the results anyway. Canadian Tire sells electrical tape in 6 packs though so I now have 3 left. I used epoxy thickened with graphite powder where the stems join the hull and clear epoxy painted both sides on the rest. Once I started I was committed. Since I didn't do a great job fitting the laminations I had to use extra force/wraps to get them to conform tightly. Hopefully they turn out.
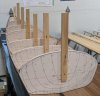
Any suggestions for a time frame before taking the tape off and planing them to rough shape?
Any suggestions for a time frame before taking the tape off and planing them to rough shape?


")