JohnAbercrombie
Paddler
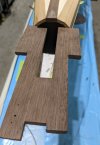
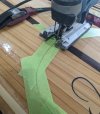
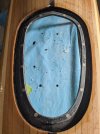
I would wait until the deck is glassed on both sides before cutting the cockpit opening to its final shape.then decide whether to cut the cockpit out before or after glassing?
I would wait until the deck is glassed on both sides before cutting the cockpit opening to its final shape.then decide whether to cut the cockpit out before or after glassing?
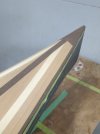
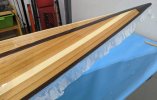
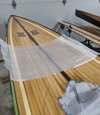
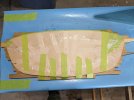
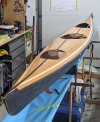
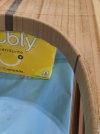
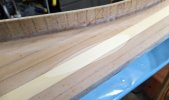
Looking good! I love that magic moment when the fiberglass cloth "vanishes"...Glassing went well. Used a bondo spreader for the first coat and then rolled on the fill coat. There seemed to be a lot of bubbles so I tipped it off with a brush and hit it with a plumber's torch to pop what I could see. I had a close call with the flame in a small spot. Too much heat, a bit of smoke and it briefly went foggy before turning clear again. Using the half roller I wound up putting the fill coat on a little thin and rolled a send thin top coat on a few hours later. Should be just about right to go trim the excess glass off now.
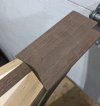
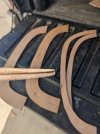
I've always found a fillet helps to avoid air bubbles - it's hard to push glass into a tight corner. And it's stronger, too.Really debated not bothering with the fillet joint as I see people use them sometimes and sometimes not.